Hi!
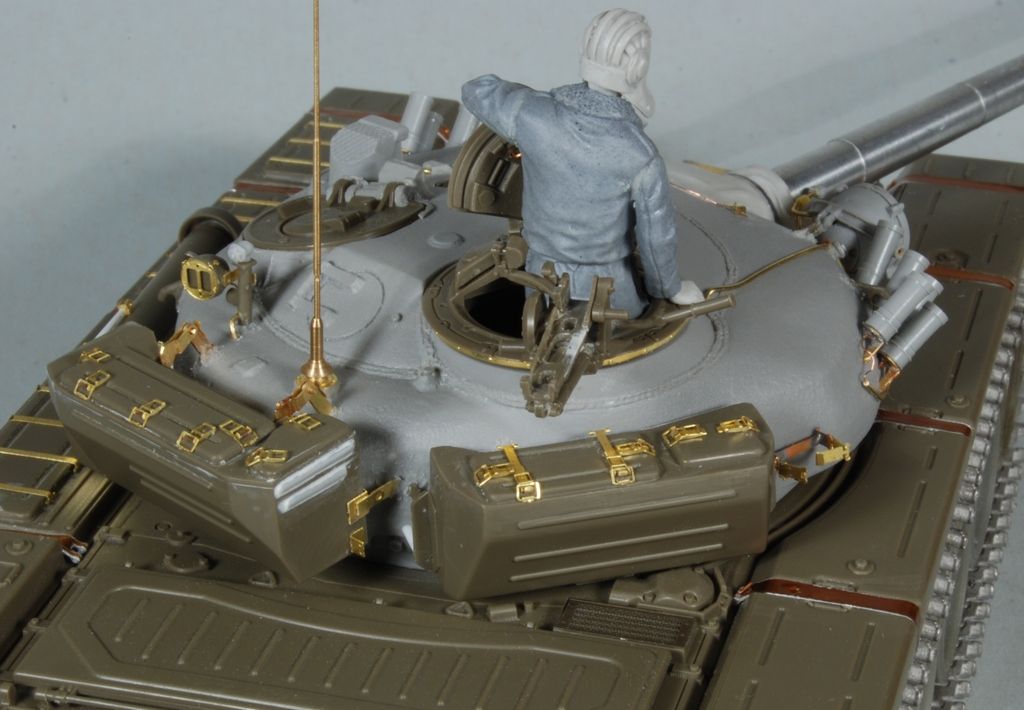
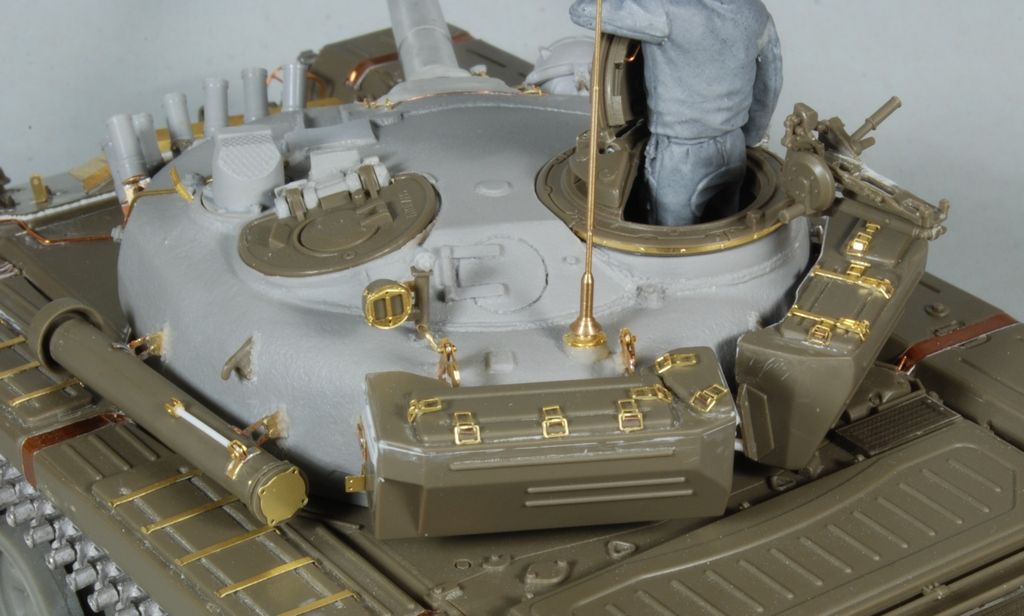
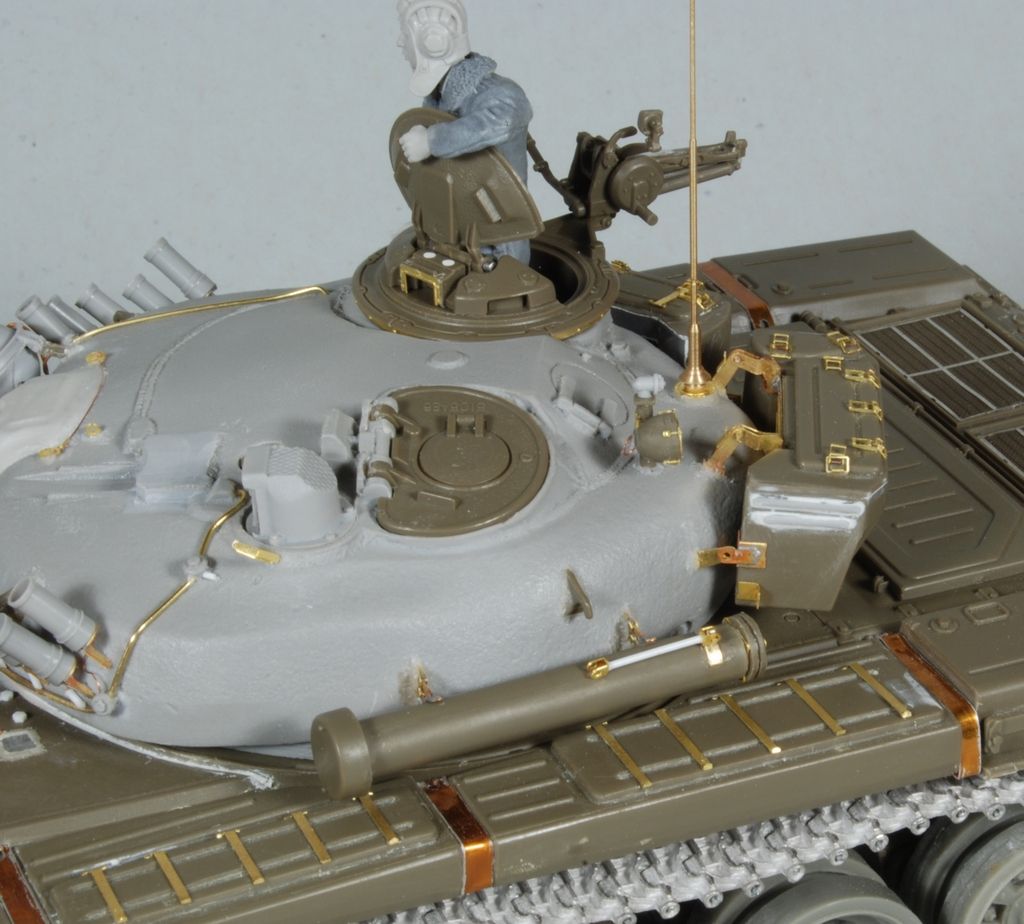
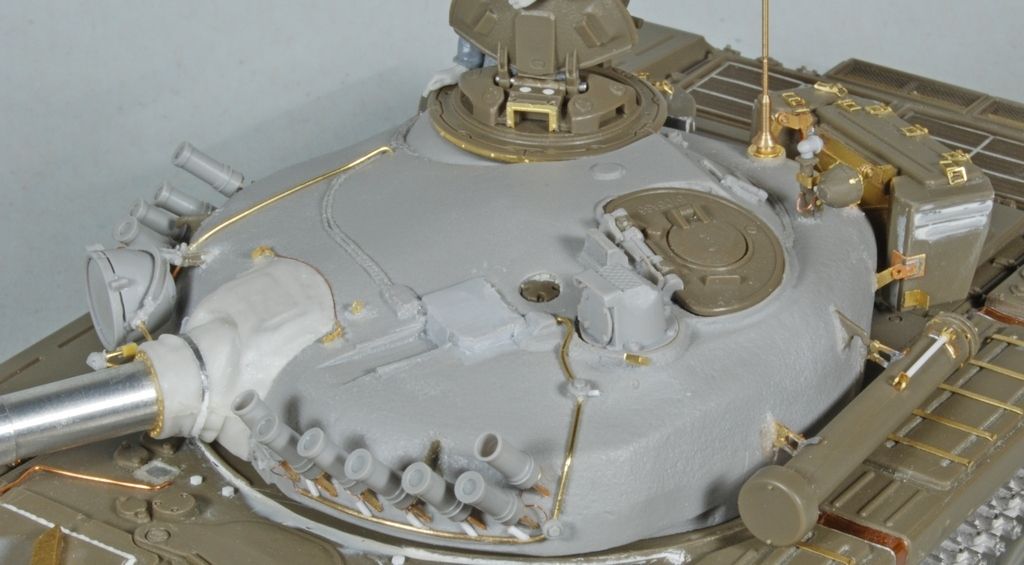
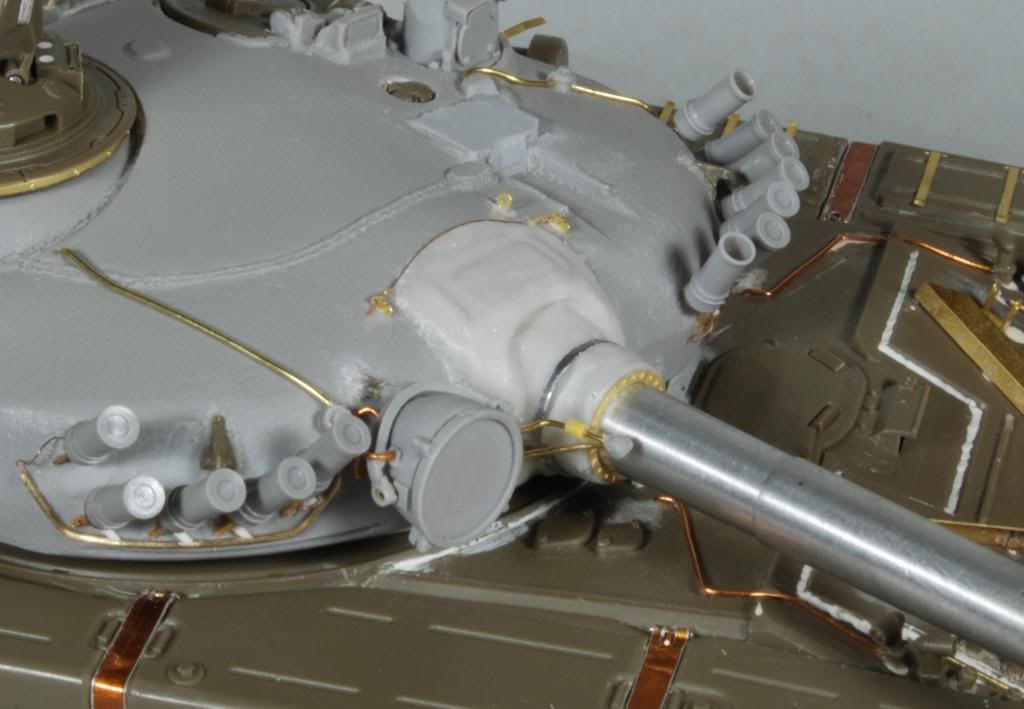
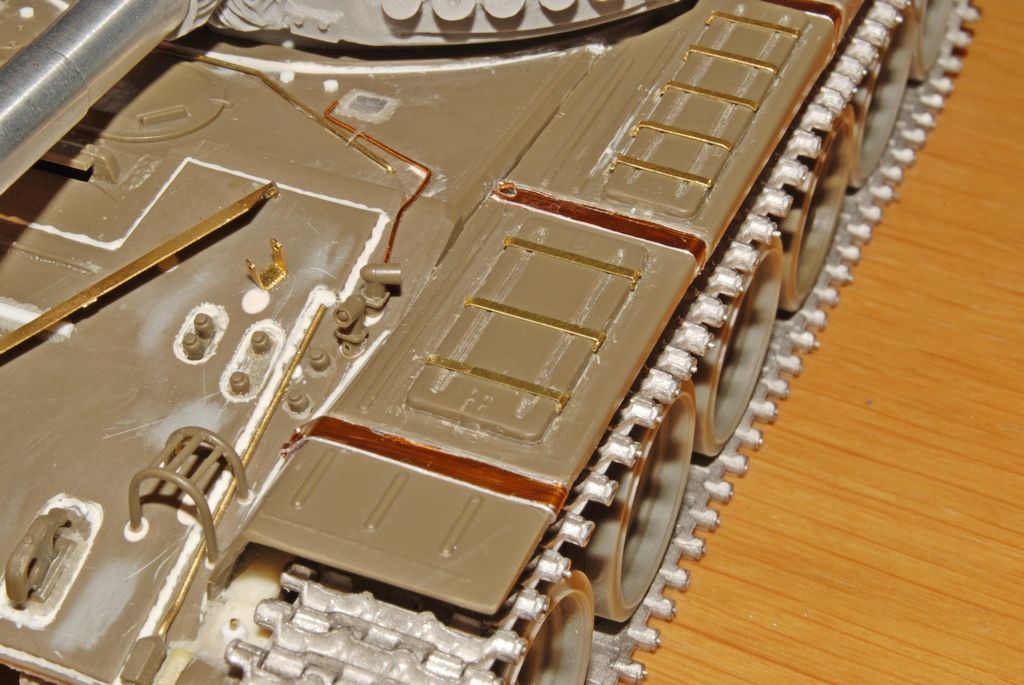
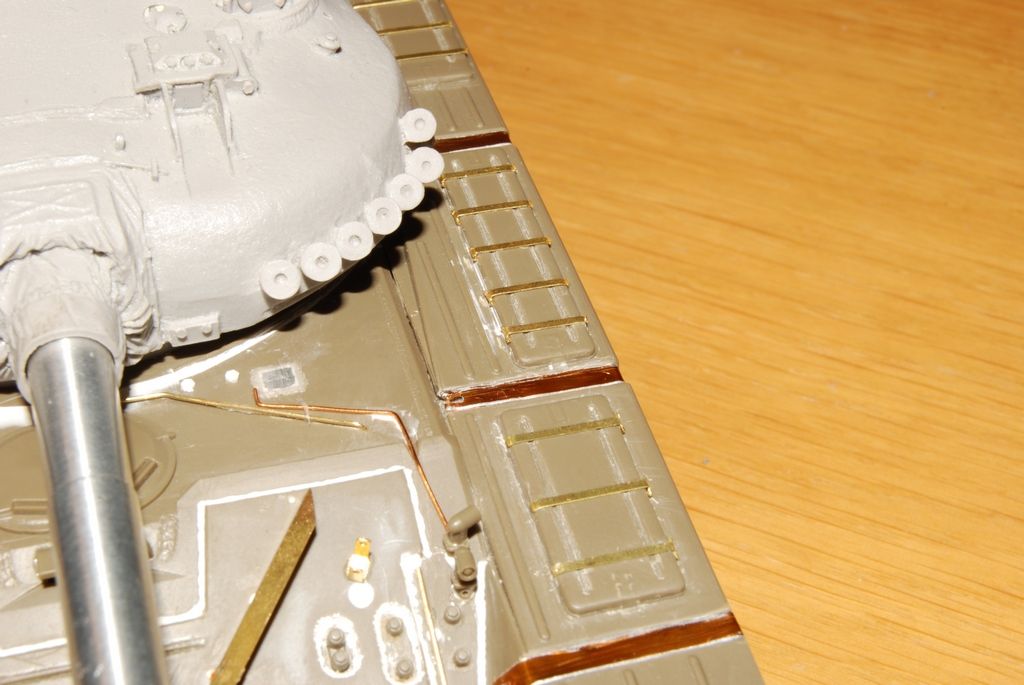
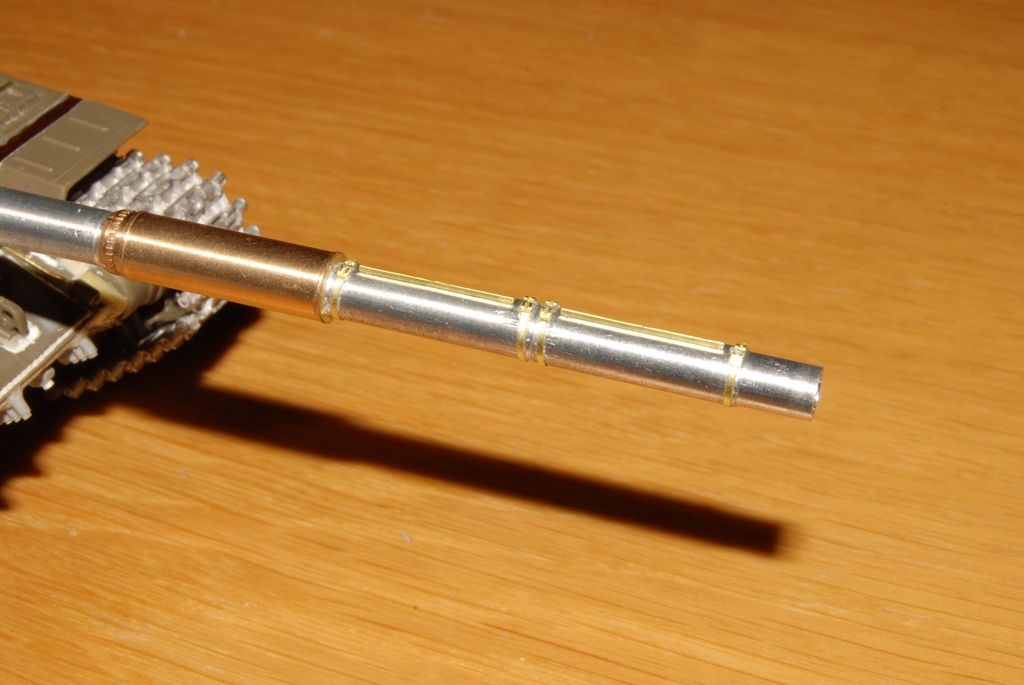
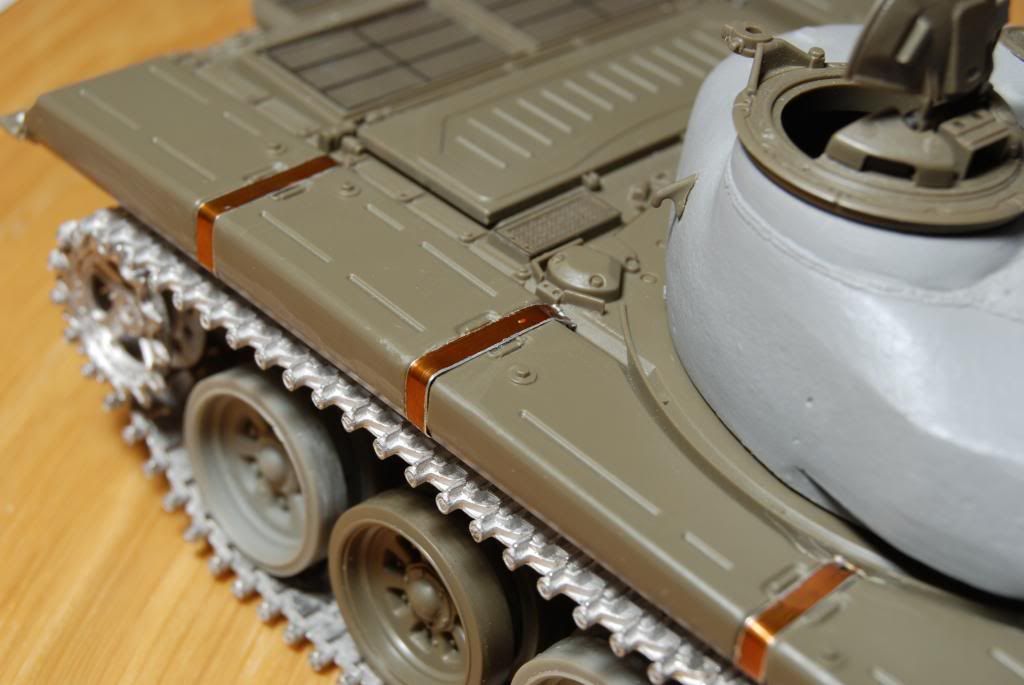
95% she is ready to dance! Almost everything has finished, but still few small details are missing. Unfortunately when last time moved from Tramore, I forgat my charger for the camera, so the battery died. I Had to make photos with my cell phone but I hope you forgive me, and I promise, as soon as possible, I'm going to change the photos! I hope you like it!?
Cheers
Gergo
1/35th scale AFV by Gergo Szaszko & 1/48th scale Aircraft by Milan Tusai's modeller blog
My actual works
- T-62 Chechnya (26)
- T-72 Chechnyan War (25)
- T-34/76 Großdeutschland (9)
- M3 GMC Half-track in DAK service (6)
- T-55 Serbian army Kosovo (5)
- BTR 80 Ukrainian civil war 2014-15 (3)
- Mig-21 MF (3)
- A-10 Thunderbolt II (1)
- Hellenic Falcon (1)
- MiG-23 MF (1)
- Mig-29 (red 44) (1)
- Shot Kal (1)
- T-64 (1)
Wednesday, 15 May 2013
Friday, 10 May 2013
Hi everybody!
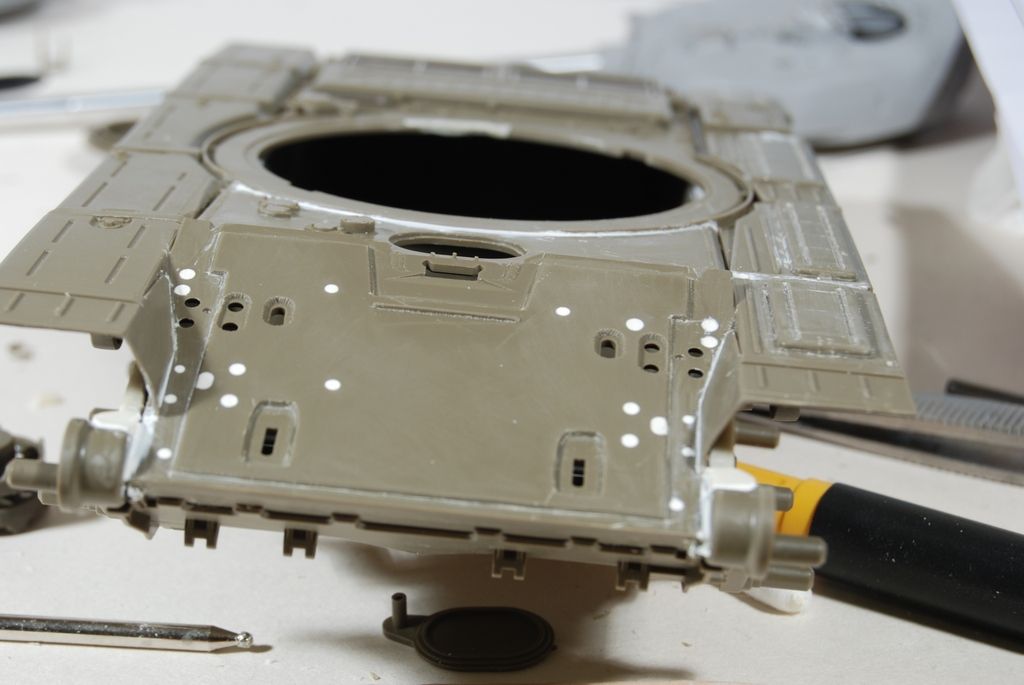
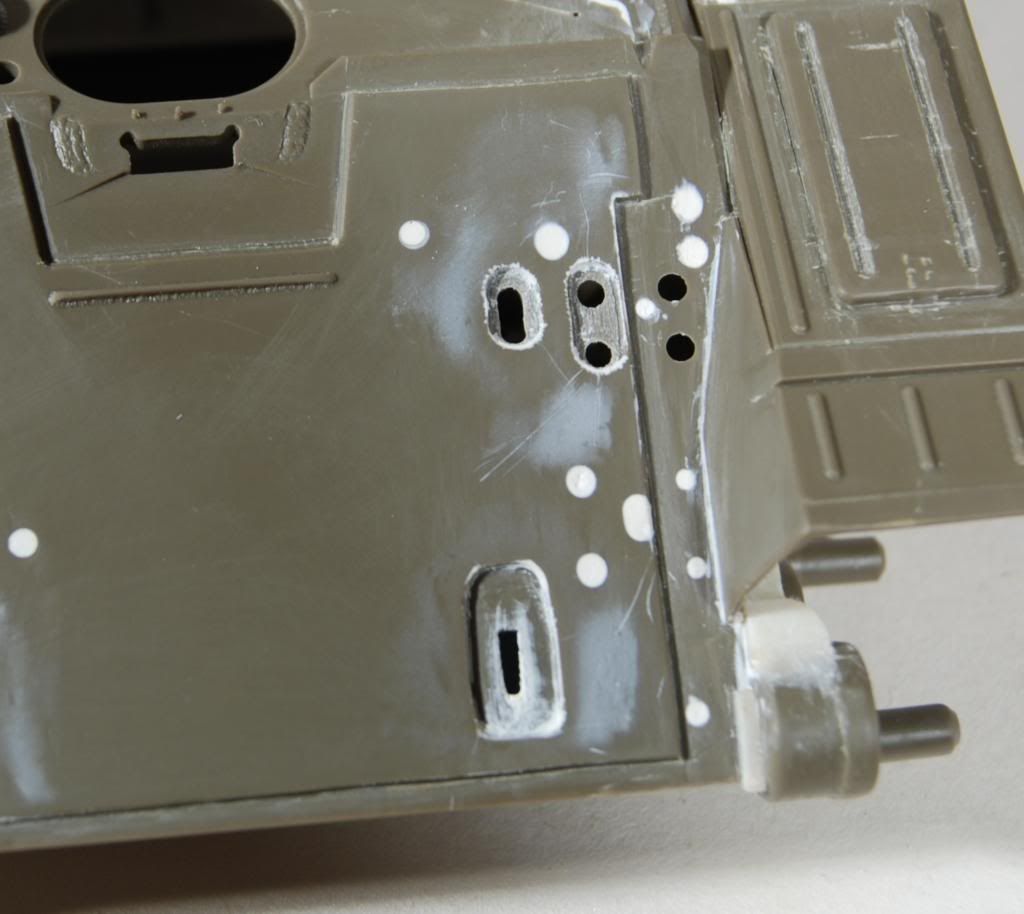
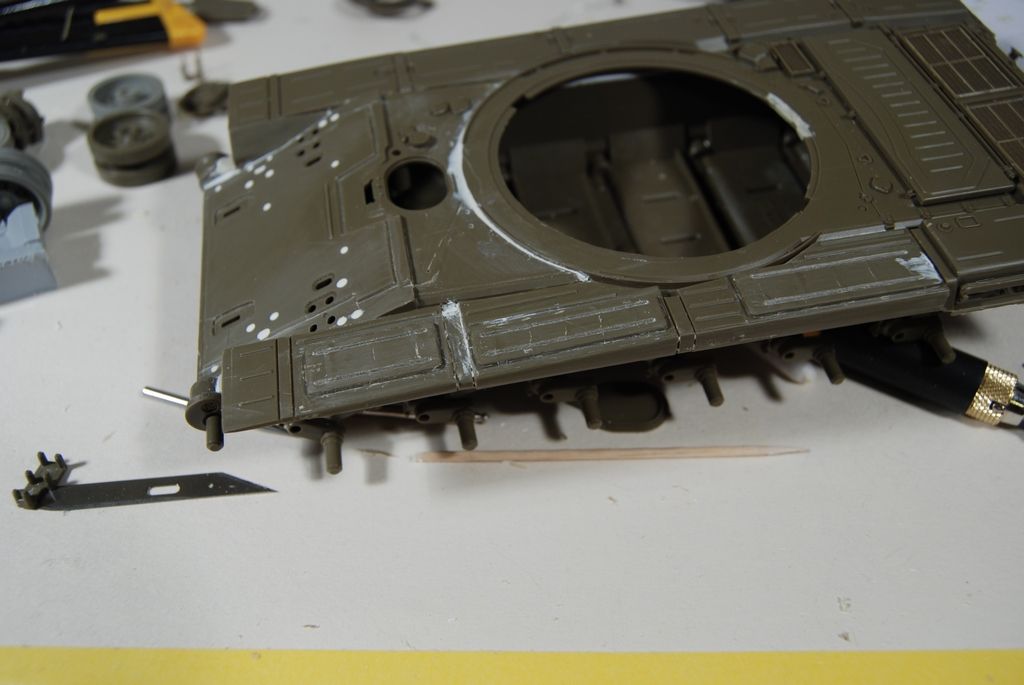
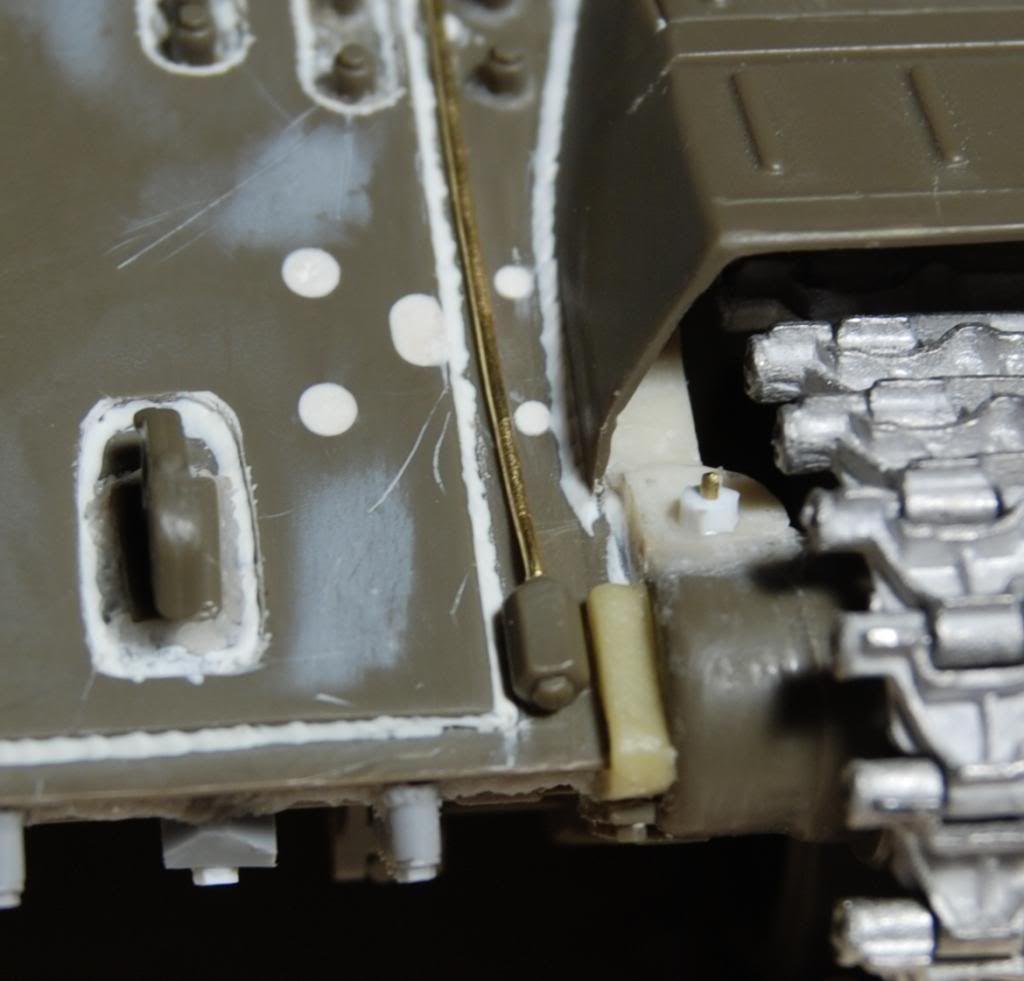
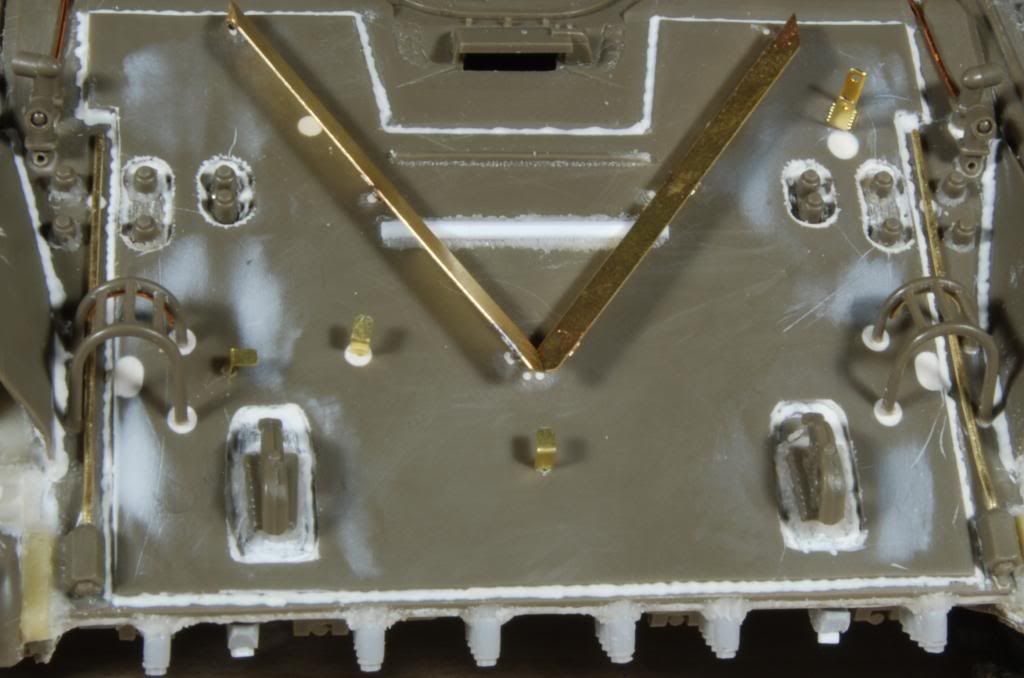
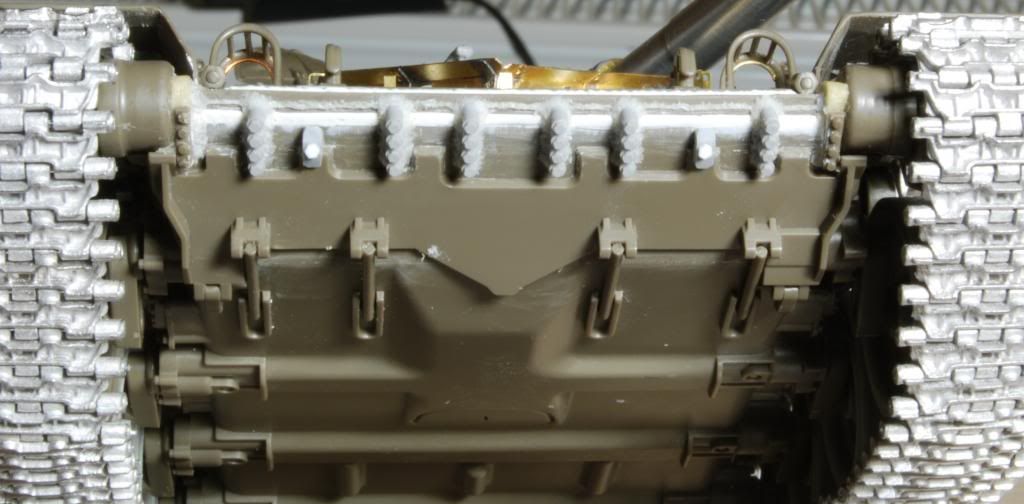
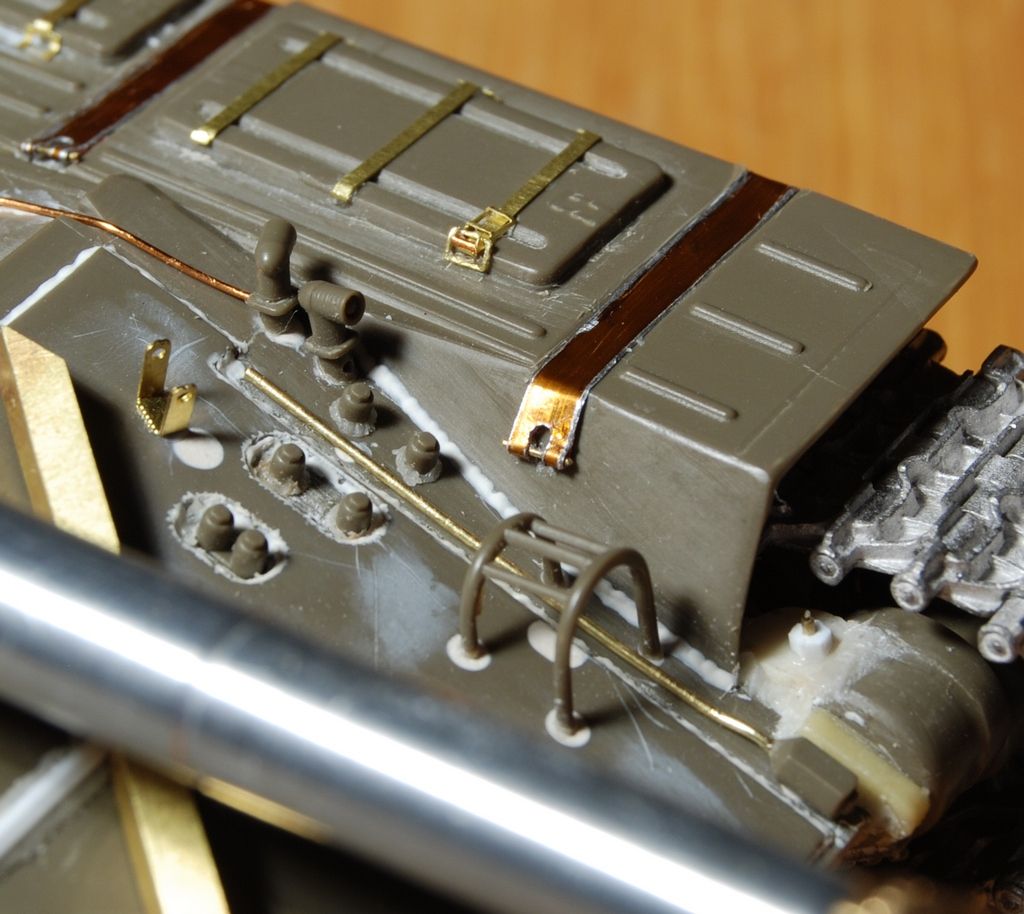
I had a small time today to make changes on the engine deck. I have planed that I'll do the right sie skirt as well, but this voyager p.e. is so bad, that I had to spend all my time with this. Unfortunately they don't give enough details, so if you want to do a correct shape, a correct engine deck, you must to use all your practics, all your old and left over p.e. and of course, loads of wire. I don't have much evergreen, but I sware to god, I'll buy a dozen of it, couse i could use now easier than this p.e.
I know it looks ready now, but trust me, the end is far away from here! First of all, I have to finish this back area, after the right side skirt, and finish the front area (lamps, wires, and some welding imitation) after nothing else only the check up and fix the small problems. Hopefully I can make the side skirt on the next week, and after, only few things left before painting method.
So here are my photos about back area, hope you like it!? And if you have any idea, suggestion or constructive comment, don't hasitate to write a few line to me!
That's it for today! More update coming soon!
Cheers
Gergo
I had a small time today to make changes on the engine deck. I have planed that I'll do the right sie skirt as well, but this voyager p.e. is so bad, that I had to spend all my time with this. Unfortunately they don't give enough details, so if you want to do a correct shape, a correct engine deck, you must to use all your practics, all your old and left over p.e. and of course, loads of wire. I don't have much evergreen, but I sware to god, I'll buy a dozen of it, couse i could use now easier than this p.e.
I know it looks ready now, but trust me, the end is far away from here! First of all, I have to finish this back area, after the right side skirt, and finish the front area (lamps, wires, and some welding imitation) after nothing else only the check up and fix the small problems. Hopefully I can make the side skirt on the next week, and after, only few things left before painting method.
So here are my photos about back area, hope you like it!? And if you have any idea, suggestion or constructive comment, don't hasitate to write a few line to me!
That's it for today! More update coming soon!
Cheers
Gergo
Thursday, 2 May 2013
Hello Everyone,
As I promised before, here are my new update about side skirts, at least from the left hand side one!
I used the Voyager kit (nothing else on the market) and I have to say that is pritty good! As I hated the basic kit, couse I think that is a peace of shit, this one is a real diamond. There are mistakes, and easy to do crap if you don't listen carefuly what you do, but the at the end you will be ok with that.
Note that the skirt is just glued to the plastic only with blue-tech, and many parts are missing, so that is not a final version! Just finished with the soldering, for the smaler parts I will use Super Attak gel glue.
Ok let see the photos, couse as they say one picture worth thousends of words!
Cheers
Gergo
As I promised before, here are my new update about side skirts, at least from the left hand side one!
I used the Voyager kit (nothing else on the market) and I have to say that is pritty good! As I hated the basic kit, couse I think that is a peace of shit, this one is a real diamond. There are mistakes, and easy to do crap if you don't listen carefuly what you do, but the at the end you will be ok with that.
Note that the skirt is just glued to the plastic only with blue-tech, and many parts are missing, so that is not a final version! Just finished with the soldering, for the smaler parts I will use Super Attak gel glue.
Ok let see the photos, couse as they say one picture worth thousends of words!
Cheers
Gergo
Sunday, 28 April 2013
Hi all,
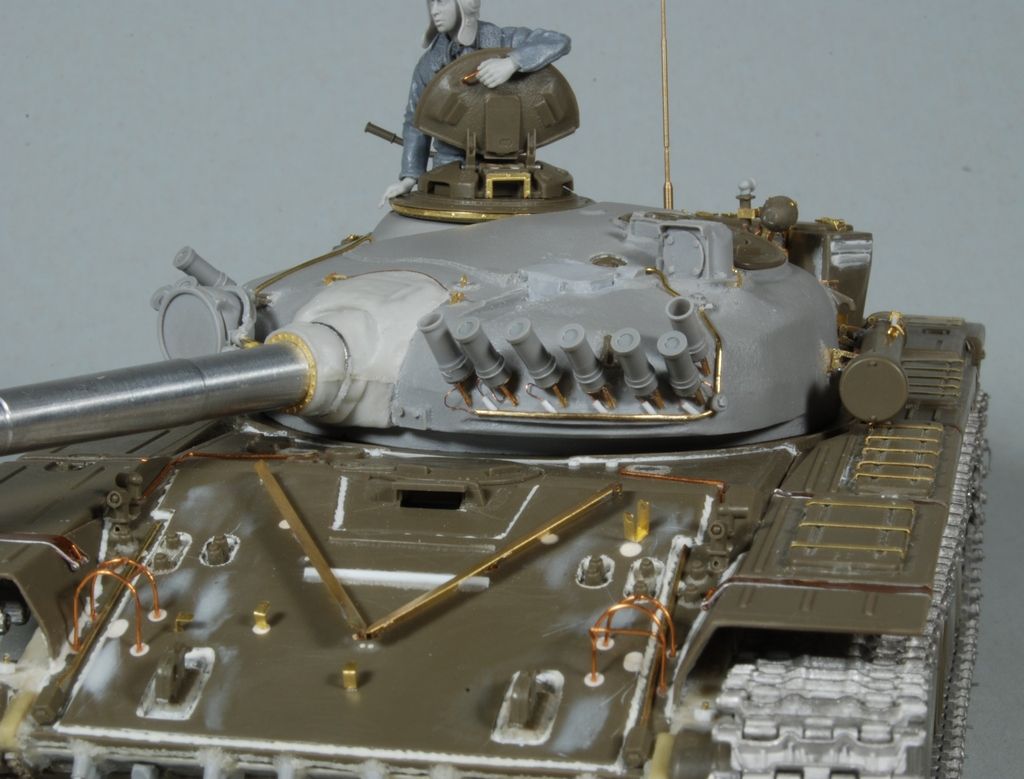
long time since last comment, but that was, just because I was busy. In the last few weeks, I almost finished the turret, now is almost 95% ready, and the hull is 40%, But next week i can do more progress, couse i will have some extra days.
So I finished, the front armor, but not everything, the wire and some smale P.E. still missing. I almost finished the turret, the "smoke garnet seed" I don't know is that the right word or not. Finished with the boxes,(bins) on the turret, (the back bin is working)Not all the welding imitation is ready at the moment, but almost. Ready the infra, and it's wiring. The only one thing what is missing from the turret is the telemeter. That is absolutely wrong, from Miniarm! So my friend will give me one correct one, but until that, i'm gona do some progress on the hull. And here are the photos.
I hope you like it, next week more progress on hull!
Cheers Gergo
long time since last comment, but that was, just because I was busy. In the last few weeks, I almost finished the turret, now is almost 95% ready, and the hull is 40%, But next week i can do more progress, couse i will have some extra days.
So I finished, the front armor, but not everything, the wire and some smale P.E. still missing. I almost finished the turret, the "smoke garnet seed" I don't know is that the right word or not. Finished with the boxes,(bins) on the turret, (the back bin is working)Not all the welding imitation is ready at the moment, but almost. Ready the infra, and it's wiring. The only one thing what is missing from the turret is the telemeter. That is absolutely wrong, from Miniarm! So my friend will give me one correct one, but until that, i'm gona do some progress on the hull. And here are the photos.
I hope you like it, next week more progress on hull!
Cheers Gergo
Friday, 5 April 2013
As I promised, here are few new photos. Today I had only a short time to do anything, so I recreated the locks of the side bins, couse all of the hinge were completly wrong (Be careful the voyager set made a huge mistake on the draw!!!!!! use reference if you build one!)
And I also start to work on the gun. That is not ready yet, just started!
Next time, monday or thuesday, dipend of my days off.
Regards
Gergo
And I also start to work on the gun. That is not ready yet, just started!
Next time, monday or thuesday, dipend of my days off.
Regards
Gergo
Thursday, 4 April 2013
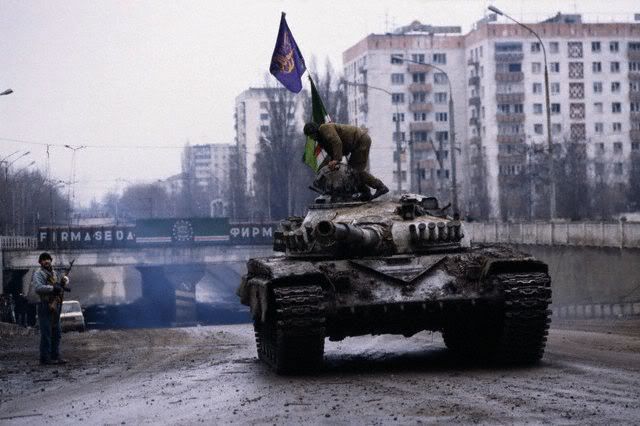
T-72 A the beast of the Chechnyan rebels!
Hi everybody,
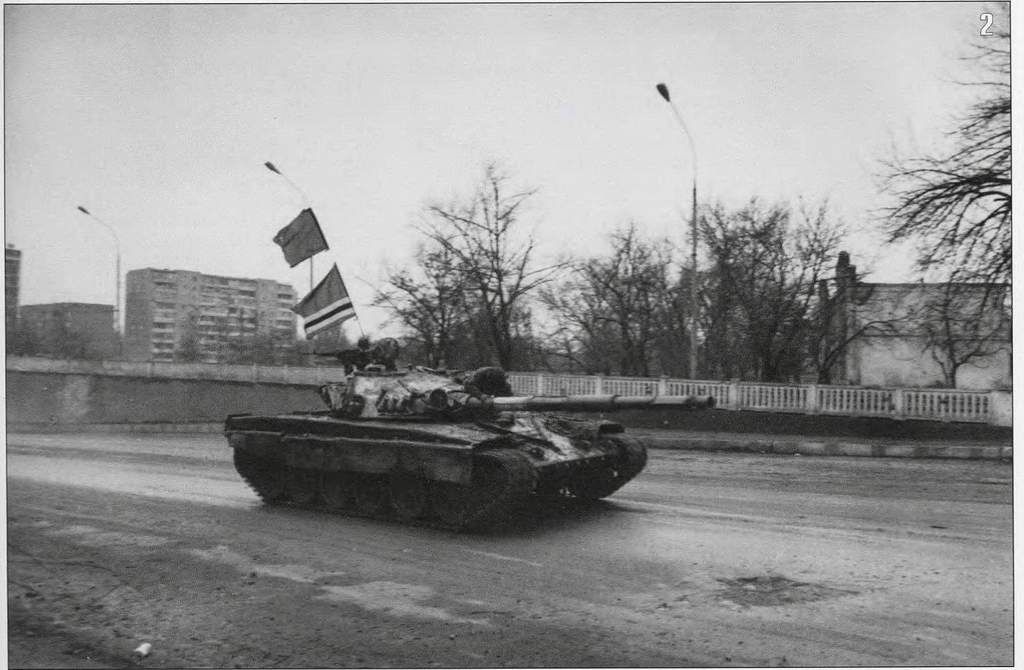
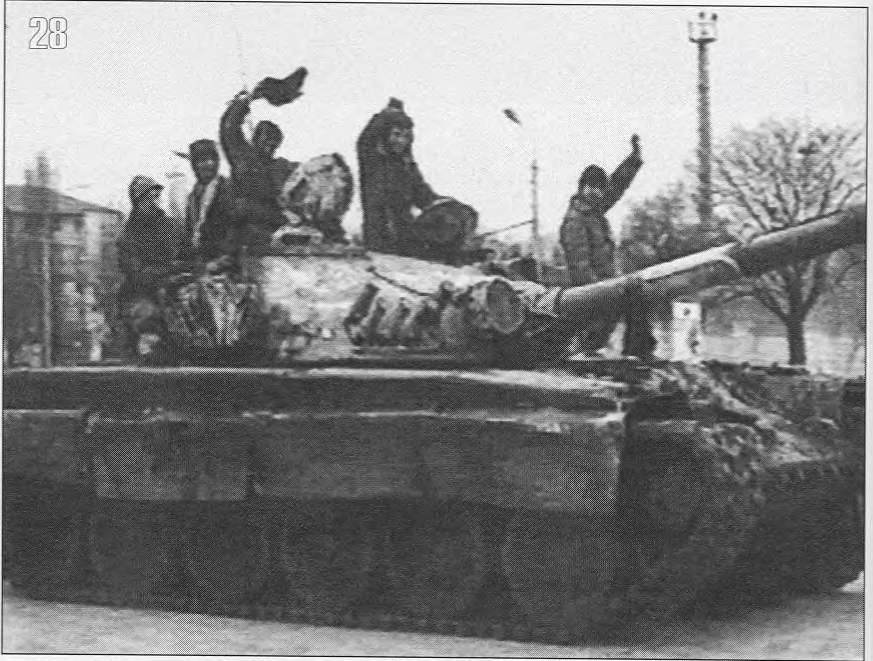
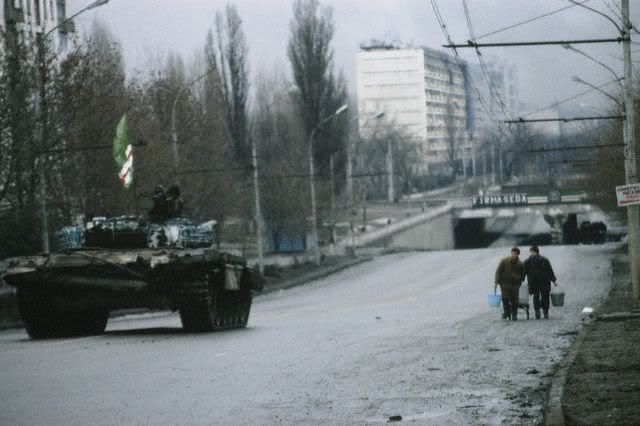
I'd like to show my "new" project, a T-72 A version in rebels' hand. This vehicle was originaly, the Chechnyan army's beast, but when the revolution started they had to given back them to the Russian. That never hapend. This T-72A Nr.490 trapped unit Dudayev from oppositions during the unsuccessful assault on Grozny, Nov. 26, 1994. Tank used militants-bandits rebels call them as you want, in urban battles with federal troops in January 1995.
That's my basic photo, I'll try to do everything the same as you can see.
I used the Tamiya kit for basic, the Miniarm turret, an RB Gun and the voyager P.E. set (unfortunately it wasn't anything else available on the market. I think this set of P.E. a piece of shit, but we we cook from what we have!) I'll use the Friulmodells track set, and many many home scratch. I hope you will enjoy the photos! If you have any suggestion, constructive comment, don't hold yourself back, let me know in time!
Here are some other photos form this time, to feel the gunpowder. :D
And now some photos from my work bench..............
More photos coming tomorrow...........
Cheers
Gergo
Subscribe to:
Posts (Atom)